Making a Shopping Bag from Plastic Bags
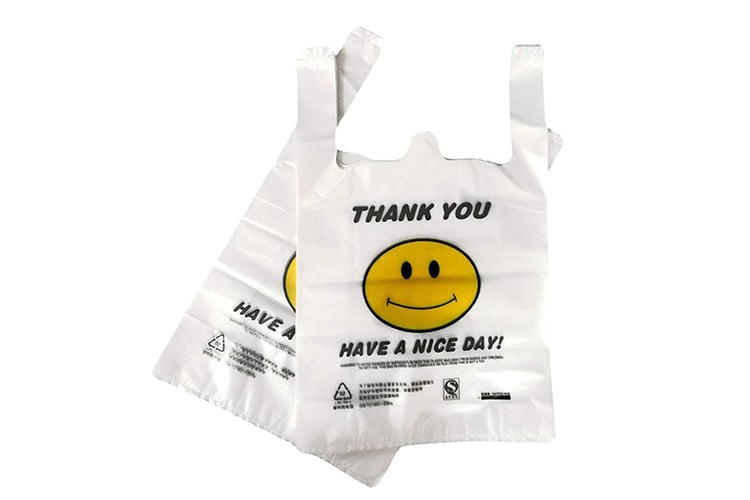
A plastic shopping bag is a great companion when visiting the grocery store or going on a shopping spree. Sometimes, you lose interest in your plastic bag (know more) and need a new touch which is why people dump their reusable DIY bags.
Instead of dumping yours, you can make a DIY shopping bag. We will show you how to make a reusable shopping bag and the importance of these branding plastic bags in this post.
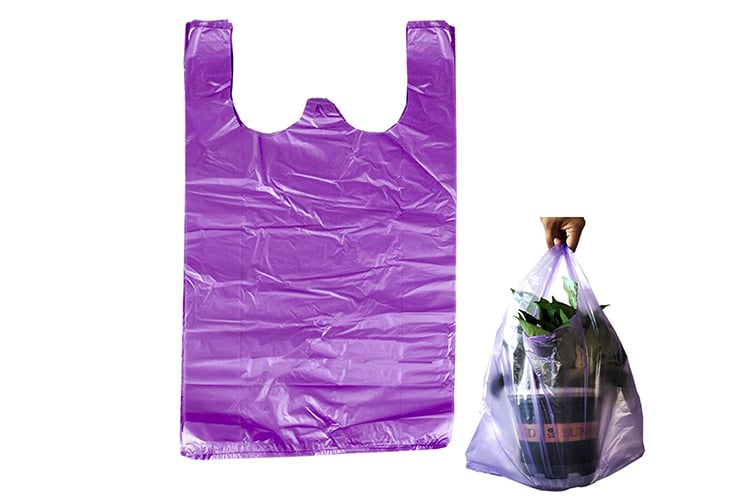
Advantages of reusable plastic shopping bags
Over the last few years, there has been a shift from plastic shopping bags to reusable ones for several reasons. You are probably wondering why you would leave your reliable plastic shopping bag.
You’re not the only person on this boat. However, many people are beginning to see why using a reusable shopping bag is better. By the time you understand this, you will see why you should make a DIY shopping bag.
First, reusable bags save our environment from the problem of plastics. Millions of tons of plastic are tossed into the ocean every year. This is harmful to sea life and the balance of the ecosystem as well.
Another advantage of these bags is that they are reliable and durable. No one wants a bag that will get spoilt after one use. Reusable bags are very reliable because of their ergonomic and sturdy design. They are usually made from strong and flexible materials like canvass and jute.
Thirdly, reusable bags are hardly get stained by liquid and spills. Even if they do, all you need to do is toss it into the machine and wash it. It comes out as new and you can go about your regular business.
Finally, a reusable shopping bag is fashionable. Like it or not, you can carry these bags to almost any gathering without feeling out of place. These bags respond more to the printing ink which means you can have more designs.
How to make a shopping bag from a plastic bag
Now you know the advantages of reusable shopping bags. How do you make a DIY shopping bag from a plastic shopping bag? With this guide, you should have your bag ready in no time. It is self –explanatory so there’s no need to worry about the difficulty.
Step 1: Cut the plastic shopping bag
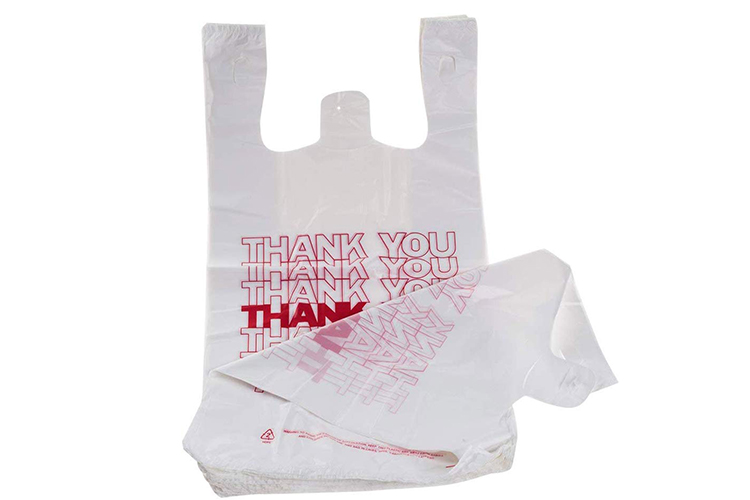
How many bags do you need for this operation? To make a single shopping bag, you need to gather at least 70 plastic bags. When you have gathered your bags, get a pair of scissors and fold each one over.
Cut the tail and top off then cut the remaining part of the bag into strips of 3 centimeters each. This should take you a few minutes depending on how fast you are with using a pair of scissors.
Step 2: Put the strips together
Now that you have your strips cut out, you need to put them together to form a very long strip. As you do this, you should not be worried about the length of the strip. It may be too long or too short.
Note that you can always adjust the length as you keep working. At this stage, all you need is a long enough strip to work with. Wondering how you will join the strips together?
It is quite easy. Simply loop the edge of one strip over another. Then you pull both edges so they can join.
Step 3: Beginning the reusable plastic shopping bag
This is where you begin to make the bag proper. Create a loop using one of the edges of your long strip. Get a crochet hook and insert it into the look you just created. If a crotchet hook is not readily available, you can simply make yours.
Step 4: Your first stitch
Now that you have your very large crochet hook and your loop, you need to make your first stitch. After inserting the hook into your already-made loop, begin the first stitch.
Step 5: Create the first row
After stitching, loop your hook roundabout the long strip. As you do, ensure that it fits right into the hook. With this done, you can now pull the strip through the loop. There you go, you just began your first chain stitch.
Follow the same instructions to make the next 28 stitches. At the end of the day, you should have 30 stitches in total hanging from your large crochet hook.
Step 6: Create the second row
So you have 30 chain stitches, that’s great. Here’s your next task, you need to recreate what you did with the previous stitches. Thread your crotchet hook through the final chain that you made. As you do, ensure that you hook the strip on the hook.
After this, pull it back through the dual loops hanging on the hook towards the front. This, once again, leaves you with a single loop. Now, you need to repeat this process over and over until you can count between 36 and 40 rows. You are already close to completing your DIY shopping bag as this makes the front section.
Step 7: Create the sides
You probably don’t want to get meddled with any sewing as you make your reusable shopping bag. This is why this guide will leave out any form of sewing. Simply hook and loop along the sides as you convert your plastic shopping bag into a different reusable bag.
The chain should be about 10 stitches in length. Down the sides of your bag, you should have some hoops.
Step 8: Create the bottom
Create reverse chain stitches so they can bend inwards by facing the bag down. The width at the base should be about 10 centimeters. When you get this, revert to the regular style so the back can be complete.
Step 9: Finish up the last side
There is no need to stop stitching once you revert. Simply continue to make the behind look exactly like the front. In building the rows, hook through the loops at the sides so that you can add strength to this section.
Step 10: Add straps or handles
This is the final step in making your DIY shopping bag. Depending on what you prefer, either shoulder straps or small handles, hook through the upper section of your bag. Then make a loop with the strip ensuring that it goes round prior to pulling the loop over the hook.
Conclusion
Making a reusable shopping bag from a plastic shopping bag may seem confusing at first. The process is actually easy and with practice, you’d become a pro. Try it out and comment below. If you have any demand for custom plastic bags, welcome to inquire us at Zigpac.
