Tips to Apply Your Car Sticker Like a Pro
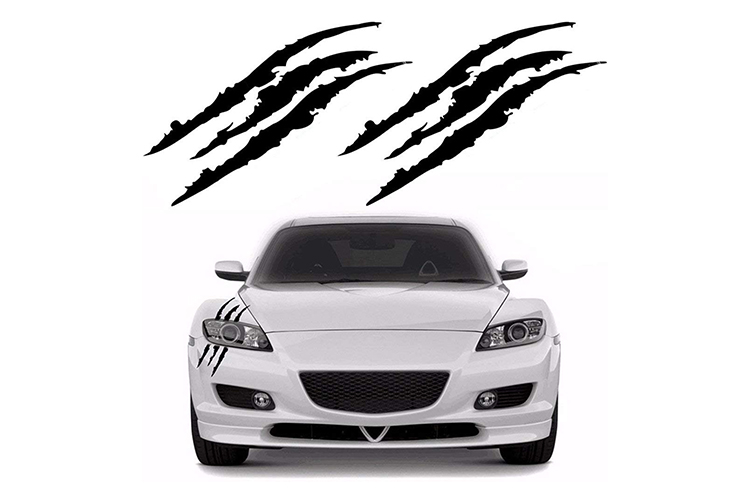
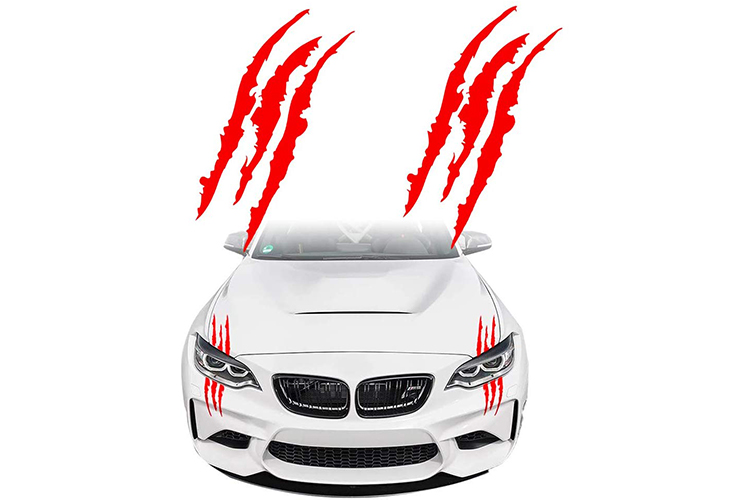
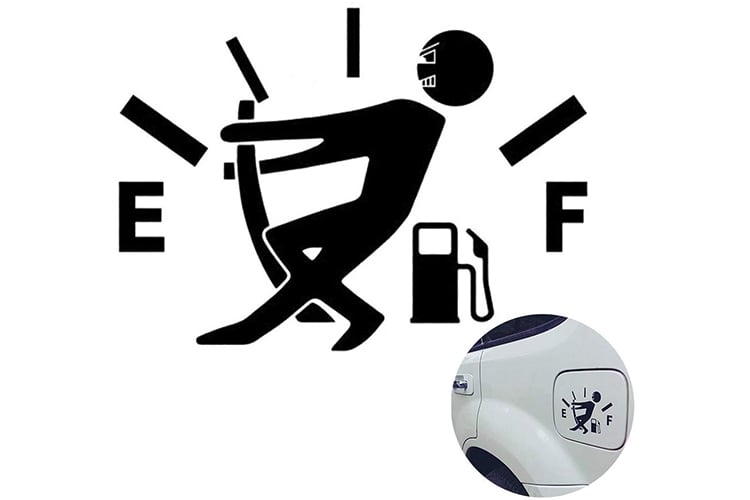
These days, many car owners apply car stickers to their cars. When you apply decals to car, it adds to the car’s aesthetics.
Many people find it difficult to apply custom car stickers to their cars. We know how annoying it can be when your stickers don’t stick properly. In this post, we have put together a few tips to help you apply stickers (know more) to your car like a pro.
Applying the decals
Tip 1: Ensure the surface is clean
A lot of people apply car stickers without first cleaning the car surface properly. This is a huge mistake as it prevents the stickers from holding in place properly. We advise that you wash the car before you apply decals to car.
Even if you will not wash the whole car, wash the surface you are applying the custom car stickers. You can do this with some soap and water. On the other hand, alcohol and water in a 50/50 solution will also do the magic.
When you are done washing the surface, rinse it with water thoroughly. You should continue rinsing until you don’t see any soap residue.
When applying the decals to windows, we advise that you stay away from window-cleaning products. Usually, these products leave residue behind. Such residue will prevent your stickers from holding onto the window surface efficiently.
Tip 2: Make sure the temperature is right
Another mistake many people make when applying stickers is applying them under the wrong temperature. It is not advisable to apply car stickers under the sun. Direct sunlight affects the adhesive properties of your stickers.
We, therefore, advise that you make use of a shaded area when applying car decals. The optimal temperature for applying car stickers is between 50F and 90F. This is why most pros prefer to apply stickers in the morning, before the sunlight peaks.
Tip 3: Make use of masking tape
Before you remove the white paper that covers the adhesive part of your stickers (know more), you should do something. Get a large masking tape, depending on how large the sticker is. Use the masking tape to hold the sticker in place over the area where it will be installed.
The white paper should be facing the surface of the glass or car. With this, you would have positioned the sticker and you can have a preview of how it will look. The masking tape should only hold the top side of the sticker first.
Lift the sticker from the bottom such the masking tape acts as a hinge. Gently peel off the white paper covering the adhesive part of the sticker. As you do this, ensure that you are holding the bottom edge.
You can begin to lower the sticker slowly while pressing the sticker outwards with your other thumb. Ensure that you always work your car stickers in a top to bottom fashion rather than sideways. By now you must notice that to apply car stickers is not really difficult.
Tip 4: Apply using the wet method
If you have experience applying small decals to car, you will know that the wet method is not necessary. However, if you are applying larger custom car stickers, you need to use this trick. It is a life-saver.
Get a spray bottle and fill it with a solution of water and soap in the ratio of 95:5 respectively. After cleaning the surface on which you will install the sticker properly, spray the area with the soapy solution.
You can now apply the sticker to the wet surface. Though this prevents the sticker from holding in place immediately, it gives you a huge advantage. In using the dry method, you don’t have the luxury of repositioning your sticker in the event of a mistake.
With the wet method, you enjoy this leverage. You can quickly reposition your sticker if you notice any mistakes. Another advantage this method brings is that it allows you to get rid of bubbles easily.
Most times we install stickers, we have a few bubbles which can disfigure the whole project. With the wet method, you can eliminate the bubbles using a plastic card or squeegee. By the time you are done with repositioning and using your squeegee, the soapy water is almost dry.
Give it a few more minutes and you have a firmly installed sticker. This is one of the best ways to apply car stickers.
Tip 5: Remove the transfer tape
Usually, custom car stickers have three distinct layers. They include:
- The transfer tape is that clear layer at the top that covers the non-adhesive part of the sticker.
- The sticker itself.
- Backing paper, which is the white paper that covers the adhesive part of the sticker.
It is always important to check if the transfer tape and sticker are pressed together before you apply decals to car. To be sure of this, use a plastic card or squeegee to apply pressure over the transfer tape evenly.
The reason why you do this is to prevent the sticker from coming up along with the backing as you install. You shouldn’t remove the transfer tape at least until 3 hours after installing your sticker. In fact, some pros will advise that you leave it for another 24 hours before taking it off.
If you reside in very cold zones, then it is better that you allow the transfer tape to stay on a little longer. To help you quicken the removal process, you may want to warm the surface up. Try using a blow dryer set to low heat to warm the surface before attempting to remove the transfer tape.
Once you get rid of the transfer tape, we can say that you are done with the sticker installation process. After you remove the transfer tape, if you notice any bubbles, gently deflate them with a sharp object.
Conclusion
Now you have seen the tricks to apply car stickers more efficiently. You should be able to install decals to car more easily. Simply order your custom car stickers and make your car look more attractive. If you have any demand for custom stickers online, welcome to inquire us at Zigpac.