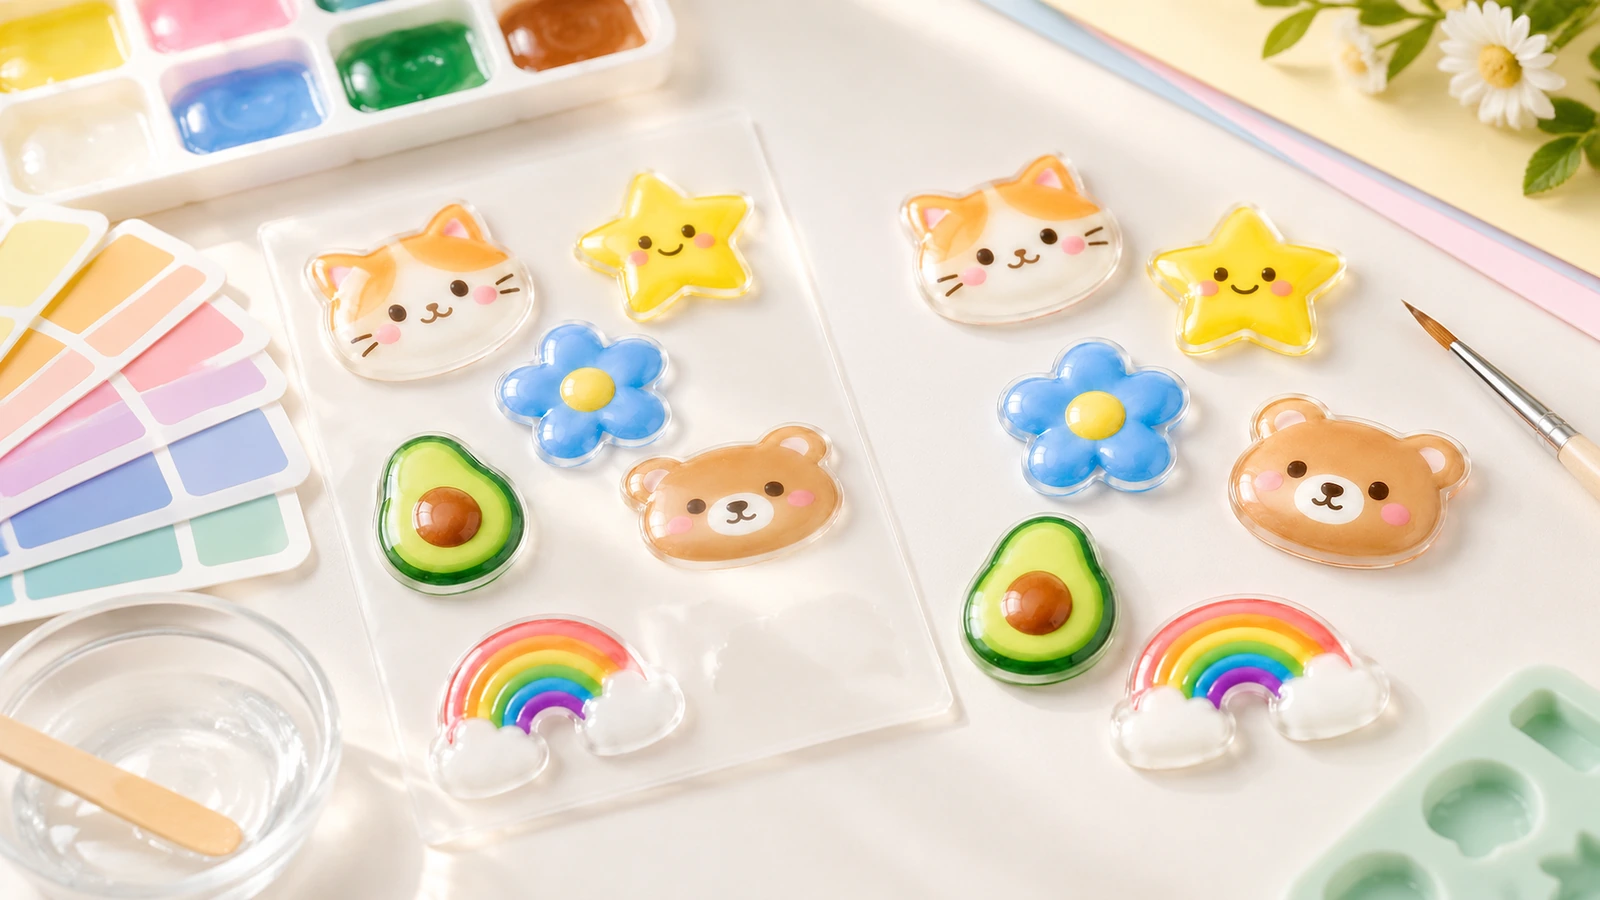
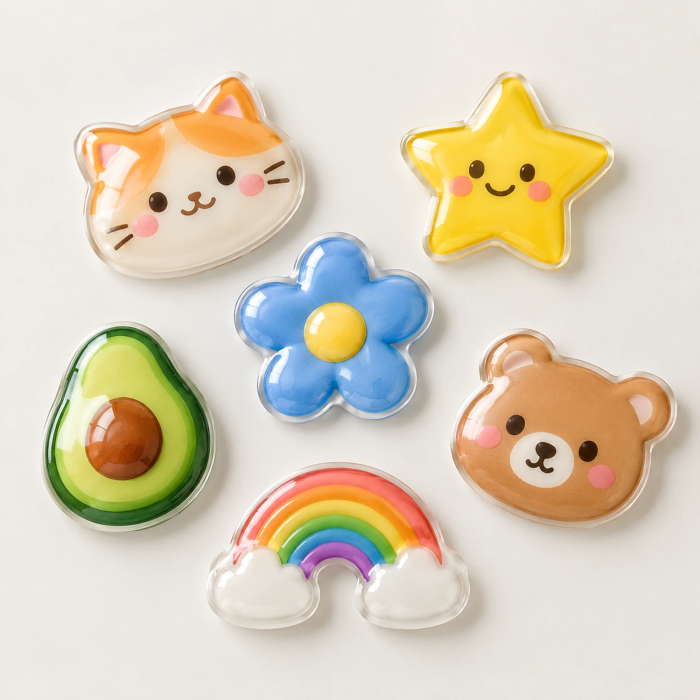
Custom epoxy dome stickers are printed, die-cut labels capped with a clear poured resin lens that stops at the cut edge. Epoxy is the low-cost choice for flat, indoor, short-life parts. Outdoor, curved or long-life brand pieces should be sampled in aliphatic polyurethane before production is approved.
Who Buys Custom Epoxy Dome Stickers, and Where Do They Belong? ↑
The most consistent buyers are B2B brand owners, packaging engineers and purchasing teams in electronics, appliances, tools, vehicles and sporting goods. They want a logo that reads as part of the product rather than as a paper label. A print-industry dome sticker guide[1] places domes on equipment nameplates, serial plates, vehicle emblems and hard hats. It concludes that "a dome earns its price where the piece is small, permanent, and touched." Long-term users say the same. A Missouri eyewear maker quoted on the DomeTag testimonials page[2] still puts at least one logo dome tag on every product thirteen years after starting.
The second group is promotional and packaging buyers. They add domes to keychains, USB drives, drinkware, pens and gift boxes so that giveaways feel more expensive. One trade listing for epoxy stickers[3] describes buyers in consumer electronics, beverage packaging and promotional giveaways who order 2,000 to 20,000 units per batch. That figure is catalogue copy, not customs data. A smaller group of independent creators and vintage-computer modders buys case badges and collector pieces in short runs.
| Use scenario | Typical surface | Resin to sample first | Main watch-out |
|---|
| Indoor equipment nameplate | Flat metal or powder coat | Epoxy acceptable | Powder coat needs a peel test on the real part |
| Tool or vehicle emblem outdoors | Flat to gentle curve, sun exposure | Aliphatic polyurethane | Epoxy ambers under UV |
| Short promo giveaway | Small flat area | Epoxy | Declare the part as indoor and short-life |
| Rigid product packaging | Flat panel | Choose by shelf life | No heat processes after doming |
| Bottles, helmets, rounded panels | Mild curve | Small polyurethane dome | Tight curves peel at any adhesive strength |
| Collector or case badge | Flat case panel | Either, chosen by hardness test | Light colours show yellowing first |
Use this table as a starting point for sampling. It does not guarantee performance. The resin is decided by sunlight, heat, bending and expected service life, not by the product name on a catalogue page.
Why Do Dome Labels Fail After the Sample Looks Perfect? ↑
The problem: When samples arrive, epoxy and polyurethane domes look equally glossy. One label maker's resin comparison[4] says the two cannot be told apart for roughly the first month. After that, epoxy starts to lose gloss, yellow, harden, shrink and curl.
Why it hurts: The failure appears after the labels are already on your product. A polyurethane-versus-epoxy analysis[5] warns that even small amounts of daylight can turn an epoxy layer yellow or brown "after just a few months of use." White and light backgrounds show it worst. A companion guide to judging 3D logo stickers[6] adds that heat alone can turn an epoxy dome amber, even in a warehouse with no direct sun. That colour change is irreversible.
Shrinkage causes a second failure. As the resin shrinks, it lifts the label edges. Customers then blame the adhesive, although the same comparison traces the cause to the doming material. On large curves, a review of common dome sticker problems[7] says domes peel along the edges "regardless of the adhesive strength used."
The fix: Specify the label by its use, not by its product name. Get the resin chemistry named in writing, sample on your final substrate and inks, and approve production only after the full construction has passed checks. A commenter on r/CommercialPrinting[8] summed it up: yellowing, bubbling, poor adhesion and uneven domes "usually come from the combination not being fully tested rather than the resin itself."
Contents
What Exactly Is a Domed Epoxy Resin Sticker? ↑
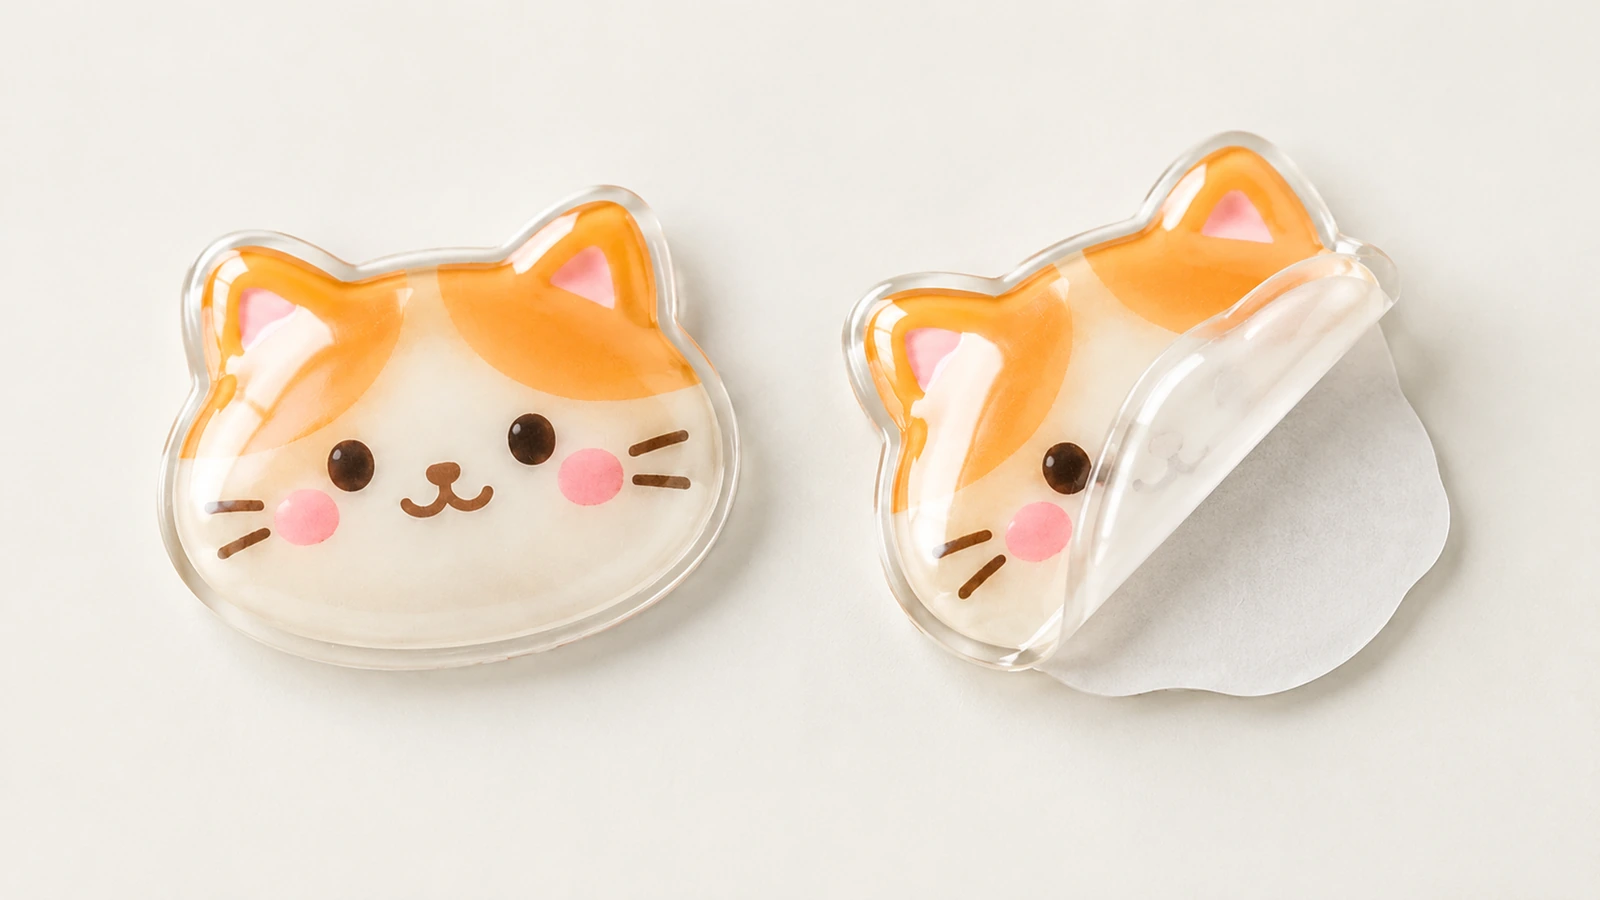
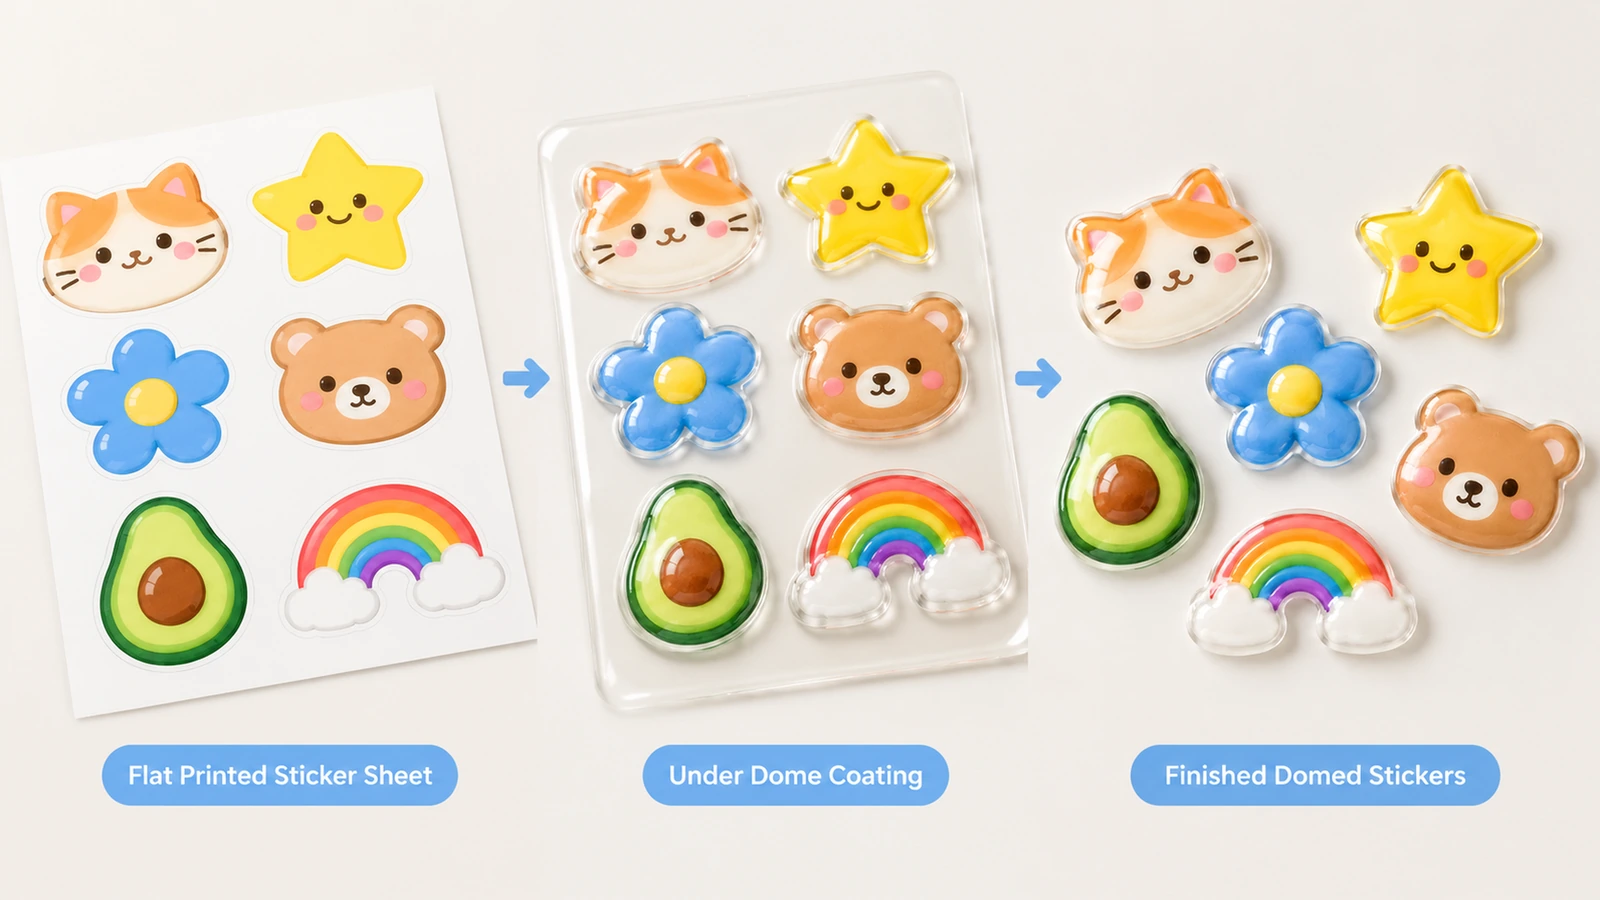
A domed sticker has four layers: a printed face stock (usually vinyl or polyester), a pressure-sensitive adhesive, a release liner, and a resin poured on top. The resin can be two-part or UV-cured. It spreads until it reaches the die-cut edge, where surface tension holds it in place and forms the lens. The liner matters during pouring. The 3M Sheet Label Material 7903FL data sheet[9] states that its 4.0 mil polyester liner "does not deform and provides a smooth surface during the doming process."
"Epoxy dome" is often a category name rather than a description of the chemistry. StickerApp's epoxy sticker page[10] says those stickers are coated with polyurethane resin and work best on flat, smooth surfaces. Because one name can cover three resin systems, follow the rule from the 4OVER4 guide: if a supplier will not say which resin it uses, treat the label as an indoor product.
Readability depends on the lens. According to the same guide, the curve magnifies "anything sitting under its shoulder." Fine text, thin rules and small serial digits should therefore sit in the flat centre zone, away from the rim. Smaller labels leave less flat area, so confirm the final size and minimum text height on a physical proof.
| Specification field | Reference point from published sources | Status for your order |
|---|
| Size | Trade listings cite about 10–120 mm per side (EximNext) | Confirmed on quote and proof |
| Dome thickness | Listings cite about 1.0–2.0 mm | Set and checked on the sample |
| Face stock and liner | Printable vinyl or polyester on a polyester liner | Chosen per substrate |
| Resin chemistry | Epoxy, aliphatic polyurethane or UV-cured | Named in writing on the quote |
| Adhesive | Permanent acrylic; high-shear acrylic such as 3M Adhesive 350 for powder coat and low-surface-energy plastics | Peel-tested on your actual part |
| Artwork | AI, PDF or PSD; Pantone confirmed separately | Preflighted before proofing |
The ranges above are reference points from third-party pages. They are not commitments for this product. Minimum order quantity, production time and unit pricing are quoted for each order after artwork review, and none of them are published here. Adhesive selection is the field buyers most often underestimate. Textured or coated housings need a peel check on a production part, because results on a sample panel do not transfer.

How Do You Specify, Sample and Approve a Dome Sticker Order? ↑
Step 1: Write down the use case
Record the substrate, indoor or outdoor exposure, any heat exposure, flexing and expected service life. Then let those facts decide the resin. A doming resin overview from an equipment maker[11] puts it this way: epoxy is often easier for indoor, rigid products, while polyurethane is the usual choice for outdoor, flexible or UV-exposed ones. One rule has no exceptions. A domed piece must never go through a laminator, heat press or oven. If any step in your process involves heat, choose printed outdoor vinyl instead.
Step 2: Preflight the artwork
Supply vector AI or PDF files (PSD for raster art) with a closed die line and confirmed Pantone references. Round off sharp corners where you can. A breakdown of dome production errors[12] explains that surface tension is unstable at right angles and sharp points. At those spots, the resin either overflows the outline or pulls back and exposes the print. Layouts with many separate elements or thin bridges need more dispensing points, which raises scrap risk.
Step 3: Sample on the final materials
Pour test pieces on the exact inks, films and coatings planned for production. As the equipment-maker overview notes, these materials change wetting, adhesion, clarity and curing. A quick screening tool is the fingernail test from the Polinal comparison. Press the centre of the dome. A mark that fades within a dozen or so seconds points to flexible polyurethane. A permanent mark, or a surface too hard to dent, points to epoxy. Also request the resin data sheet, because words like "flexible" or "UV resistant" on a quote cannot be tested.
Step 4: Control printing, cutting and pouring
The ink must be fully dry before pouring. Water-based ink that is still wet is a common cause of delamination. Die-cut edges must be clean, because burrs and leftover waste turn into overflow or notches. The production-errors breakdown warns that a 1–2% error in the mixing ratio can ruin a batch. It recommends keeping the pouring area at about 22–24°C with relative humidity below roughly 40–45%. Cure time depends on the resin system and is confirmed for each order. Labels must not be stacked or pressed before they are fully cured.

Step 5: Inspect before release
| Defect | Acceptance check to agree | Likely cause |
|---|
| Bubbles or cloudiness | Backlit visual check | Ratio error, humidity, trapped air |
| Tacky surface | Touch check after the cure window | Too little hardener or poor mixing |
| Brittle, over-hard dome | Fingernail and hardness check | Excess hardener, or epoxy used where polyurethane is needed |
| Overflow or retreat at corners | Edge inspection under magnification | Sharp corners, unstable surface tension |
| Edge lift | 180° peel per ASTM D3330[13] on the real surface | Shrinkage, curvature, dirty or cold surface |
| Yellowing risk | Retained light-colour sample compared over time | Epoxy chemistry, UV, heat |
Agree on these checks before the proof is signed. Any batch that fails should be scrapped as a whole, not sorted. A peel test confirms consistency, but it does not predict outdoor service life.
Step 6: Put application rules in the delivery notes
Clean the surface with isopropyl alcohol or heptane, apply at room temperature or above, and press from the centre outward. The 3M 7903FL data sheet warns that surfaces below 50°F (10°C) can make the adhesive too firm to make full contact. The dome face is sealed, but the underside is not. Water "gets in at the adhesive line, not through the dome." Edge lift on a dirty or waxed surface is therefore an installation problem, not a waterproofing failure.
Step 7: Pack, document and plan reorders
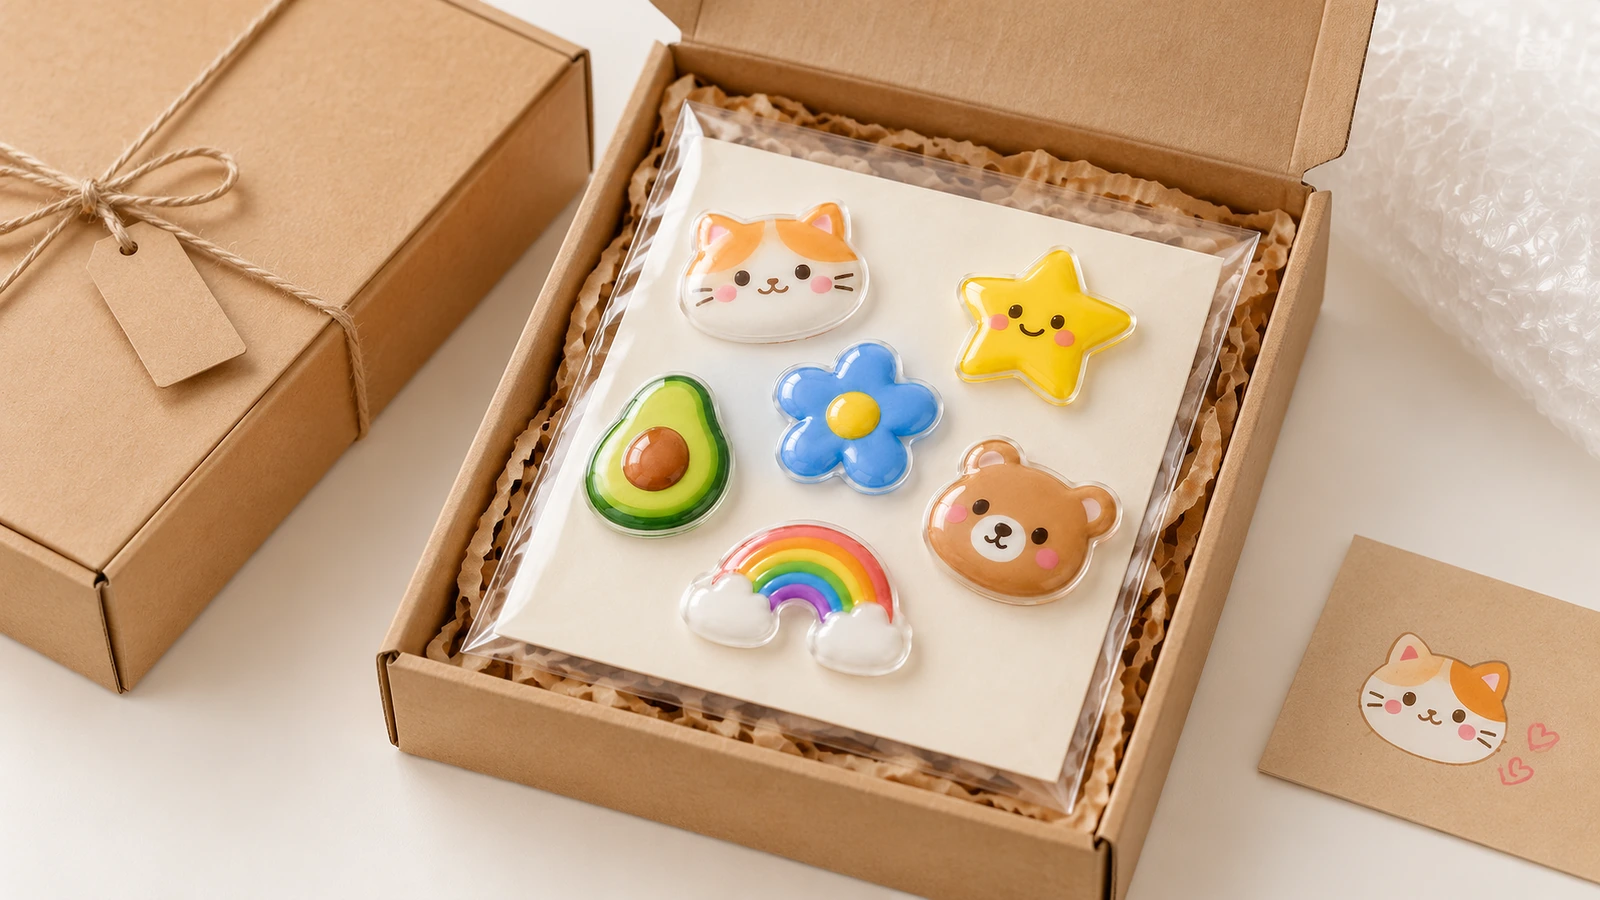
Interleave or bag the sheets so that domes are not pressed against each other in transit. Each batch record should include the batch number, the named resin (aliphatic polyurethane or a specific epoxy grade), cure records, the SDS for the liquid resin, and a retained light-colour sample for matching reorders. For goods sold in the US, the FTC Made in USA guidance[14] allows an unqualified claim only when final assembly, all significant processing, and virtually all components are from the US.

Epoxy, Polyurethane, UV-Cured or Flat Vinyl: Which Fits Your Budget? ↑
The comparison below separates the options by process rather than by marketing name. Shoppers often see all of them sold as "epoxy dome."
| Option | Cost signal | Durability (supplier-stated) | Best fit |
|---|
| Two-part epoxy | Lower resin cost (CNMI[15]) | Months, mainly indoors; hard and brittle | Flat indoor plates, short promotions |
| Two-part aliphatic polyurethane | Higher cost; $306 for 125 four-colour decals of 0–1.99 sq in, listed through 31 Oct 2026 (deSIGNery[16]) | Years of outdoor clarity; flexible, dents recover | Outdoor parts, mild curves, long-life branding |
| UV-cured resin dome | Low unit pricing on trade pages | "Indoor and limited outdoor," −10°C to 70°C (EximNext) | Mid to large promotional runs |
| Flat die-cut vinyl | Vinyl from $25; custom die-cut from $93.37 (4OVER4) | No resin to yellow | Events, curves, heat processes |
| Flat embossed or holographic | From $322.98 (4OVER4) | No resin ageing | Shelf visibility without a dome |
These prices come from single suppliers' list pages. They are not market averages, and pages often contradict each other. Websticker[17], for example, lists a 125-piece minimum and 10 business days on one part of the site and 8–10 days for domed decals in another table. Weathering claims need the same care. One two-part polyurethane spec page[18] reports 500 hours of UV-and-water exposure without significant degradation. That result applies to polyurethane only and must not appear on an epoxy order.
Epoxy saves money on resin and processing, not on after-sales costs. Choose it for short indoor campaigns and flat nameplates where a colour change after a few months is acceptable. For brand parts, outdoor pieces and mild curves, sample polyurethane first. Switch to epoxy only after comparing both samples side by side.
Which Standards and Rules Shape Dome Label Orders in 2026? ↑
ASTM D3330/D3330M-04(2025) measures the peel adhesion of the pressure-sensitive adhesive, not the dome itself. UL 969 Edition 6[19], published in 2025, covers labels used as permanent nameplates or markings. It evaluates face stock, ink, adhesive and the mounting surface together. A promotional sticker does not become certified just because it is epoxy or waterproof. The 3M 7903FL material listings (UL File MH11410, CSA File 99316) cover that material only, not a custom dome built on it.
Chemistry rules now reach the adhesive layer as well. Under TSCA Section 8(a)(7), adhesive makers and importers must report all PFAS used since 2011, including processing aids and hidden additives (PFAS update 2026[20]). 40 CFR § 751.407[21] has banned PIP (3:1) in adhesives since 6 January 2025, and it bans distribution of articles containing it after 31 October 2026. In the EU, key provisions of the packaging regulation have applied since 12 August 2026. Article 12(8) prohibits misleading sustainability labels (Gleiss Lutz[22]). For this reason, unproven "eco epoxy" wording should be removed from packaging labels.
Key Takeaways for Dome Label Procurement ↑
- Epoxy is an indoor resin once sunlight is involved — ambers "within a season or two" (Source)
- Light backgrounds show yellowing first — visible "after just a few months of use" (Source)
- Cold surfaces prevent full adhesive contact — apply at 10°C (50°F) or warmer (Source)
- Mixing tolerance is tight — a 1–2% ratio error can scrap a batch; pour below about 40–45% RH (Source)
- Polyurethane domes cost more upfront — $306 for 125 four-colour 0–1.99 sq in decals on one list (Source)
- The doming resin market is expanding, per a paid-report summary — $1.5 billion in 2025, projected $2.9 billion by 2034 at 8.1% CAGR (Source)
- PIP (3:1) article distribution is ending — prohibited after 31 October 2026 (Source)
Ready to Scope Custom Domed Resin Stickers That Last as Long as Your Product? ↑
A good dome label starts with a clear specification rather than a catalogue name. Define the surface, exposure and service life. Name the resin in writing. Approve only a sample made on your final materials, with agreed acceptance checks. MOQ, production time and pricing are set for each order once that scope is clear. Send your artwork, a photo of the target surface and your use-case details to request a quote and a pre-production sample.




The information below is required for social login
Sign In
Create New Account