We use cookies to enable our websites to remember information, to help some website functionalities to work properly, to understand how you interact with and use our websites and to display you content and ads that are relevant and engaging for you.
By clicking Accept All you consent to the use of these cookie.
The store will not work correctly when cookies are disabled.
Quick answer: To size a flat pouch, convert net weight to volume with your product's bulk density, choose internal width and length that hold that volume with headspace, then add seal widths, a tear-notch zone and any hang-hole header to get the outside dimensions you quote.
Knowing how to size a flat pouch before you request a quote saves a full round of sampling. Most sizing errors come from one habit: picking a stock size by eye and hoping the product fits. This guide gives you a repeatable calculation that starts from your product's volume, weight, shape and fill method and ends with finished width and length, including allowances for seals, tear notches, headspace and hang holes.
Why Flat Pouch Sizing Goes Wrong
The problem. A flat pouch looks simple: two faces, three factory seals, one open edge. Flat formats are also the most common pouch on the market. Smithers estimated that 620.5 billion stand-up and flat pouches[1] would be used worldwide in 2024, with flat pouches holding roughly three quarters of that market. Because the format is so common, buyers often assume any converter's standard sizes will fit. They often don't.
Why it hurts. A pouch that is too small traps product in the seal jaws during closing, which weakens the final seal or causes leakers. A pouch that is too large leaves visible slack, wastes film, and lets more oxygen and moisture pass through the extra surface area. If you add a hang hole without reserving a header, the punch can cut into the product zone. Each of these failures appears only after the order has been printed.
The fix. Size from the inside out. Calculate the space the product actually needs, then add fixed allowances for every non-product zone. The method below works for powders, granules, sachets of cream, and solid items alike.
What "Flat Pouch Size" Actually Means
The Canadian Food Inspection Agency's retort pouch manual describes the most common pre-formed pouch as one with three sides pre-sealed by the pouch manufacturer[2], so the filler needs only a single heat bar to close it. That structure defines the measurements you have to specify:
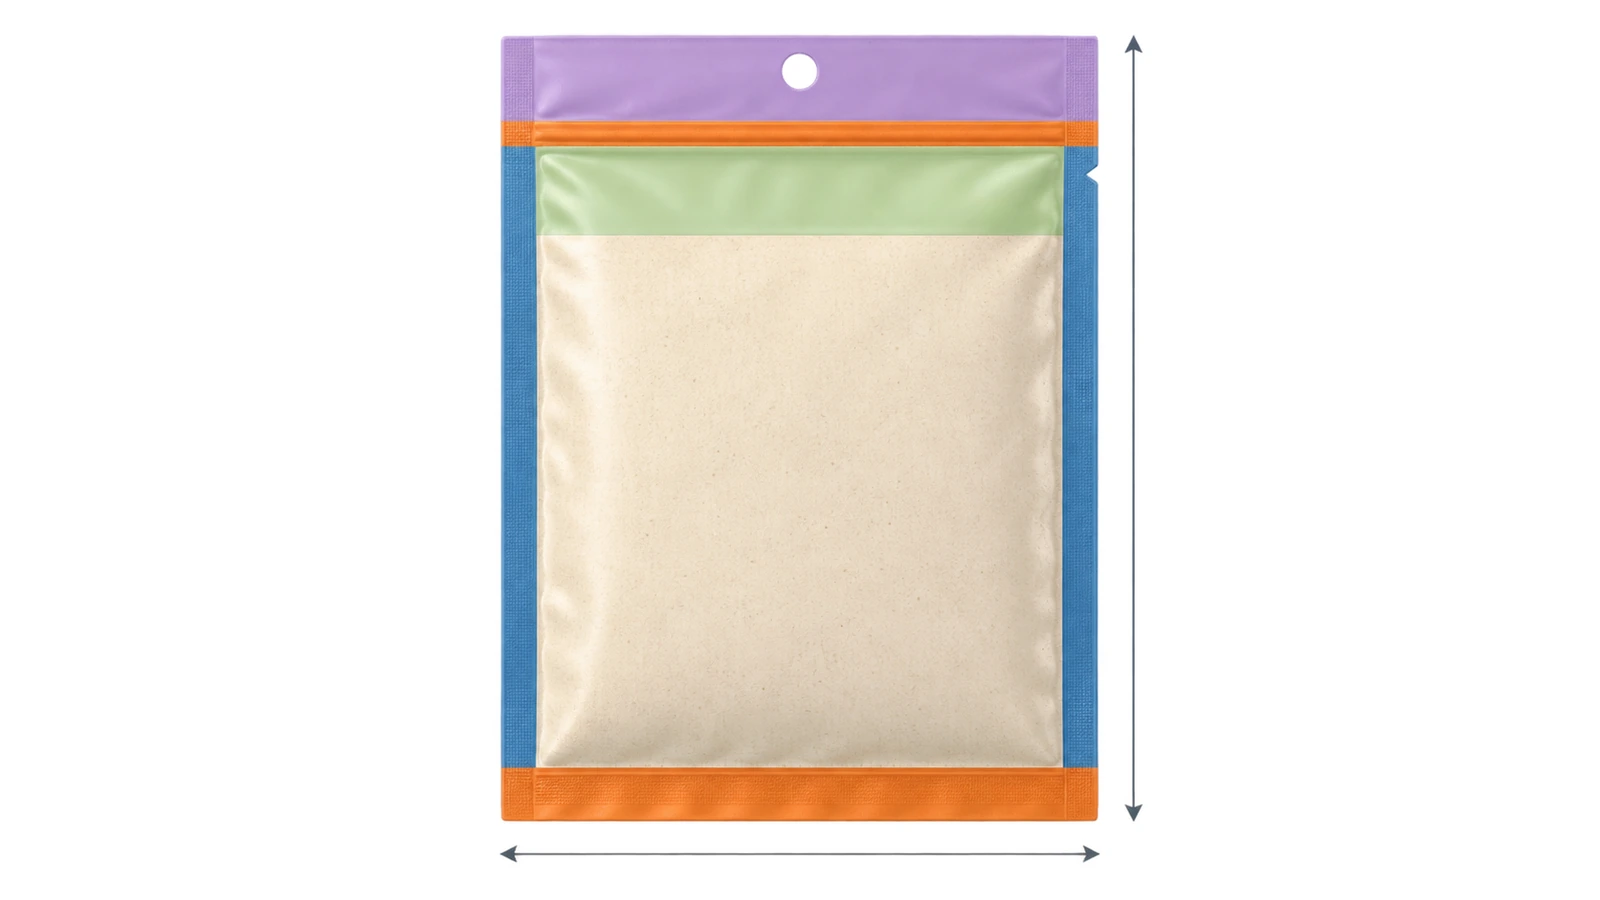
Outside width (W): edge to edge across the pouch, including both side seals.
Outside length (L): from the bottom edge to the top edge, including the bottom seal, the product zone, the headspace, the final top seal and any header.
Internal (usable) width and length: the dimensions between the inner edges of the seals. Only this area holds product.
Seal widths: the band of each heat seal. Every millimetre here is film you pay for that holds nothing.
Converters usually quote outside dimensions, written width × length, with the opening edge on the length's top end. Your calculation runs in the other direction: it starts with the internal space and adds seals outward. The economics of seals are not trivial. A 1999 US patent for three-side-seal pouches noted that omitting a fourth seal gave an approximate 10% decrease in the cost of materials[3]. That figure comes from one inventor's design, but it shows how much of a small pouch's film can sit in seal zones.
How to Size a Flat Pouch in Eight Steps
Step 1: Convert net weight into fill volume
Pouches hold volume, not grams. Weigh a known volume of your product as it actually arrives at the filler, not as it settles after shipping. Divide net weight by that loose bulk density to get fill volume. For powders, also measure tapped density after vibration. The gap between the two tells you how much the product will settle and how much visible slack will appear after transport. A powder at 0.45 g/mL loose needs about 67 mL for a 30 g fill. A powder at 0.65 g/mL needs only 46 mL for the same weight, so "how much does a flat pouch hold" has no answer in grams until you know the density.
Step 2: Set the internal width from the fill method
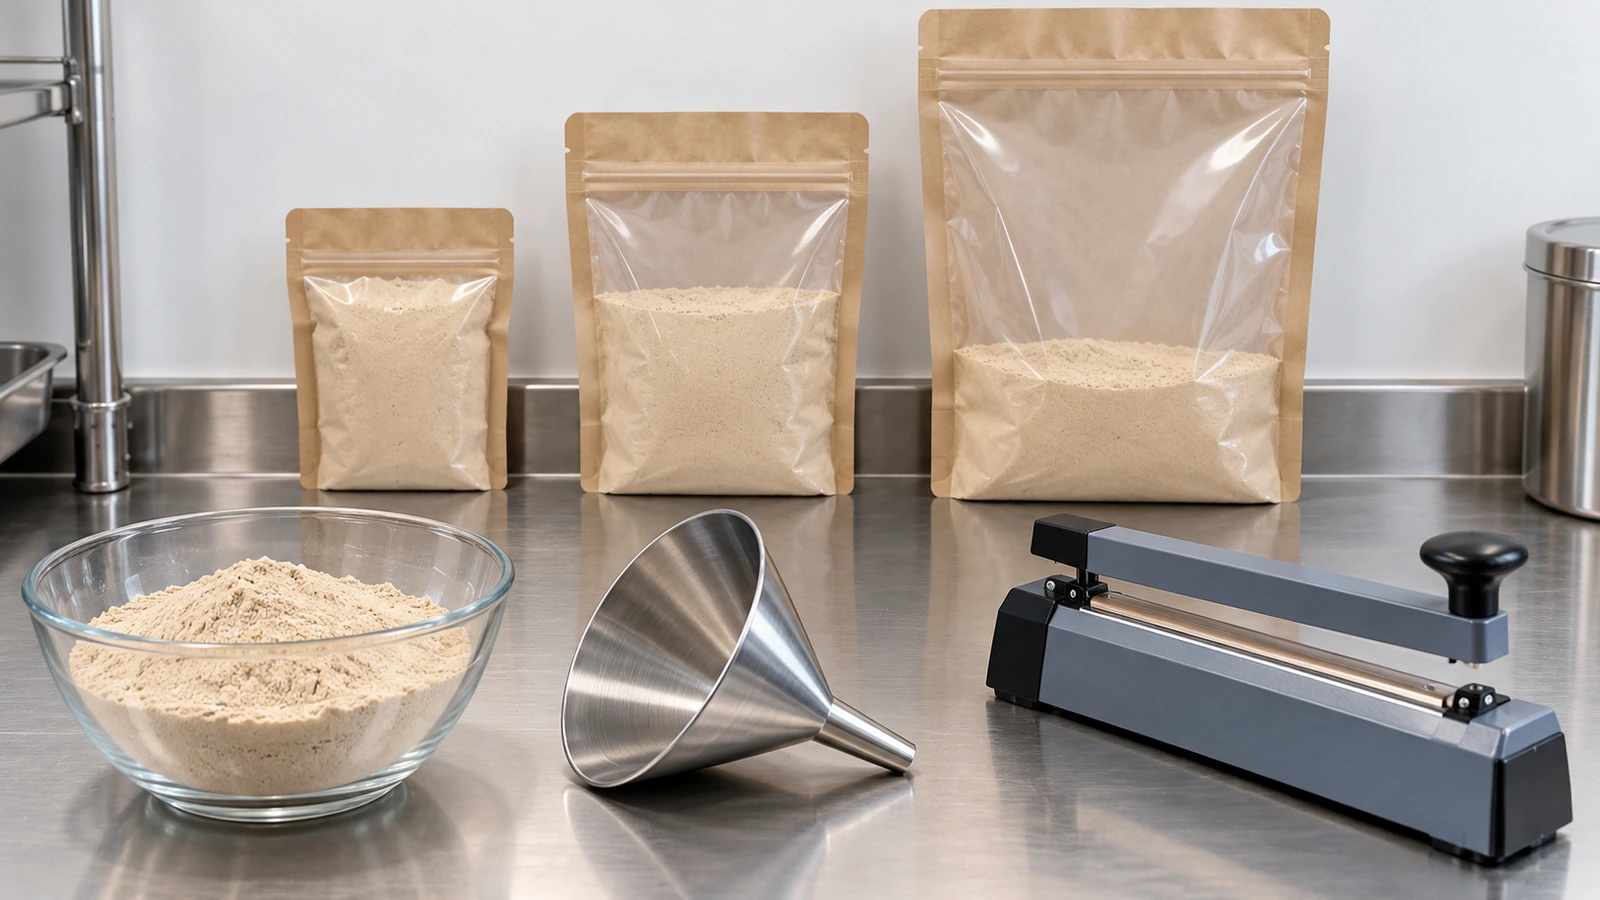
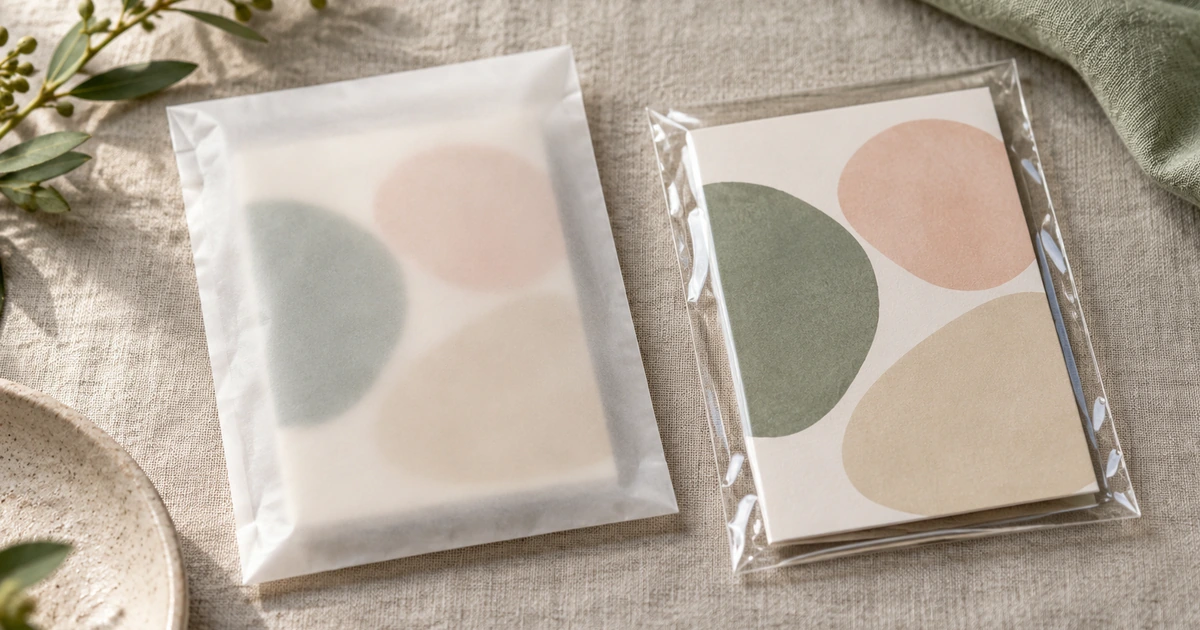
Width is usually fixed by filling, not by graphics. Measure three things: the outside diameter of the filling nozzle or funnel, how far the pouch mouth opens on your filler (or by hand), and any solid item's widest dimension. The internal width must clear the nozzle with room for the operator or gripper to open the mouth. For solid items such as wipes, sachets-in-sachets or sample cards, add clearance on both sides so the item slides in without dragging across the sealant layer.
Step 3: Estimate the maximum capacity
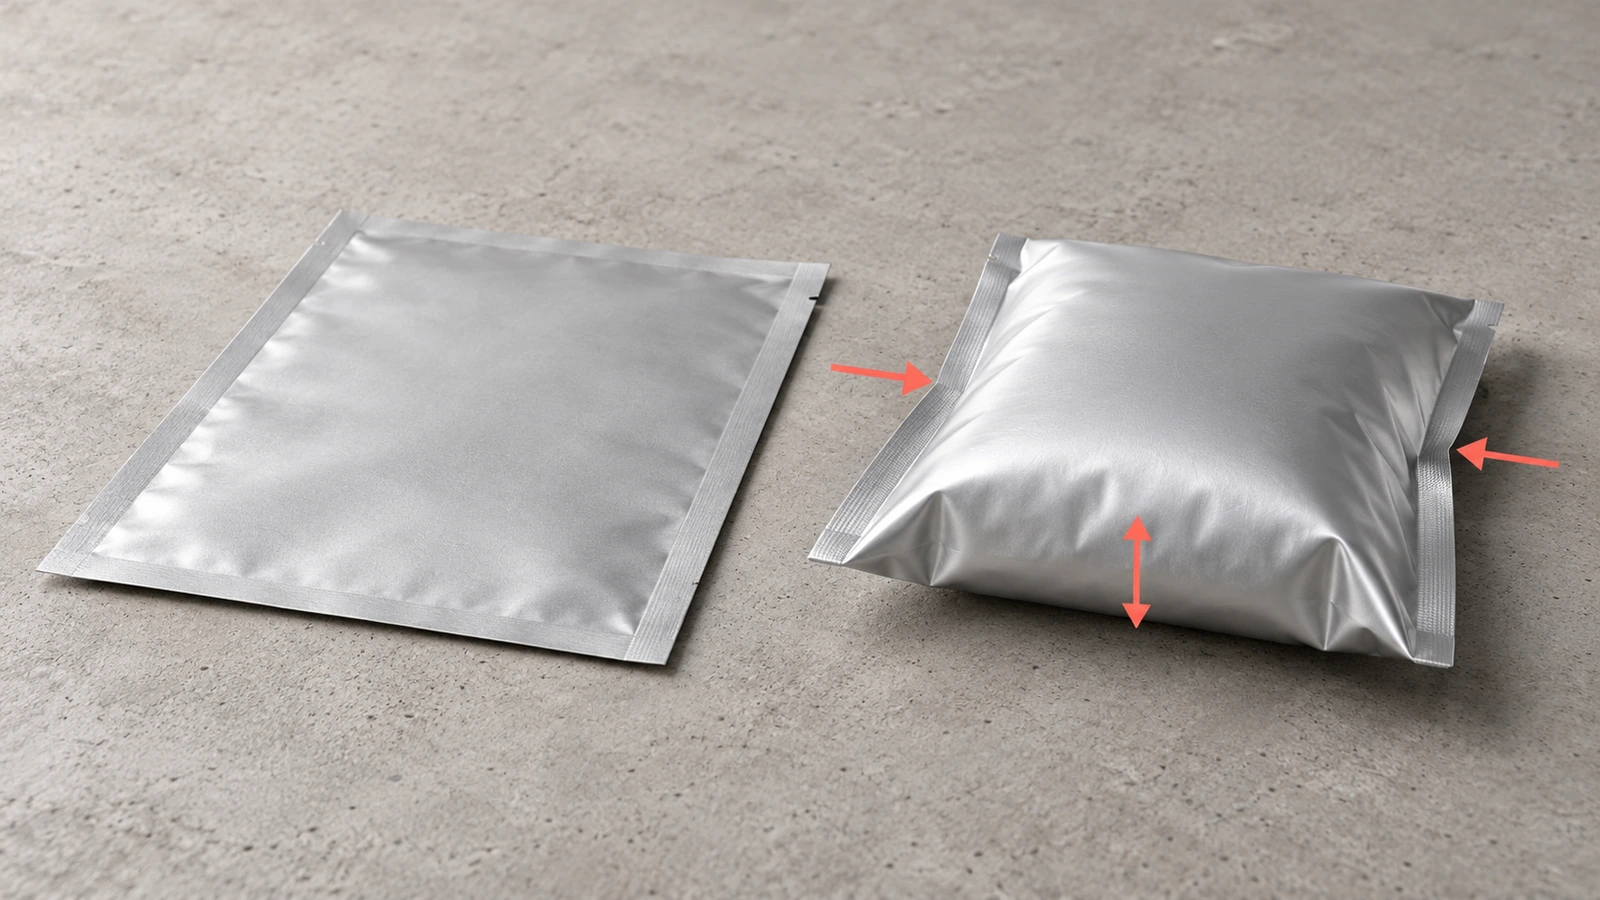
When a flat pouch fills, it bulges into a pillow and its flat footprint shrinks. A useful ceiling comes from the mathematical "paper bag problem", which approximates the largest volume a sealed rectangle of flexible film can hold. With internal width w and internal length l (where l ≥ w):
For a square pouch this gives about 0.19 × w³. Treat it as an upper bound, because a pouch filled to this point has no headspace and no flat area to seal. For powders that should lie reasonably flat and keep the seal zone clean, a sensible first prototype targets roughly 40–60% of V_max. That band is a starting assumption, not a standard; Step 8 confirms it.
Step 4: Add seal width allowances
Seal width allowance in pouch sizing has two sides. Seals must be wide enough to survive misregistration, wrinkles and handling, yet every extra millimetre adds width and length. Published specifications give a useful floor. The US Defense Logistics Agency's ration packaging requirement PCR-G-003B defines an effective seal as fused, continuous and free of product, with a minimum width of 1/16 inch[4], and it rejects a lot if any of the three sealed edges averages under 6 lb per inch of width. The CFIA manual classes a seal left with less than 3 mm of intact width after edge delamination as a serious defect.
Those are minimum acceptance values, not design targets. Converters commonly offer nominal seal widths in the 5, 8 or 10 mm range; ask which widths your supplier's sealing jaws produce and design around one of them. Wider side seals also give a tear notch room to start. Strength is verified separately: ASTM F88/F88M-23[5] measures the force needed to peel a seal strip apart and records how it failed, but it does not prove a pouch is leak-free. Seal problems are not rare. An analysis of FDA recall data from January 2019 to January 2025 found that an incomplete or defective seal[6] was the cause in 54% (430 of 791) of seal-integrity-related medical product recalls. Those were medical products, but the failure point, seal formation, is the same in food and cosmetic pouches.
Step 5: Reserve headspace above the fill line
Headspace is the clear film between the top of the product and the inner edge of the final top seal. It keeps product out of the seal jaws. This matters most for powders. A 2019 peel-test study by Bamps and colleagues found that powder contamination in the seal area cut optimised seal strength by roughly 16–79%, depending on the sealant. The CFIA manual flags a related issue for liquids: excessive vacuum before closing can draw product into the seal area. Size headspace to your filling method. Auger-filled fine powders throw more dust than granules, and hand-filled pouches need room for fingers to hold the mouth flat. Do not size headspace for appearance only; excess slack makes a premium product look underfilled.
Step 6: Place the tear notch and any zipper
A tear notch sits in the side seal. It must fall above the fill line, so the consumer does not tear through product, and below the top seal. If the pouch has a zipper, the notch belongs above the zipper; a tear line below a reclose strip makes the zipper useless. Seal design affects opening force as much as notch position. In an FDA adverse event report, a customer opening about 400 reagent card pouches a day reported staff forearm injuries; the investigation traced the hard-to-open pouches[7] to a serrated tear notch combined with a three-rib side seal, and users found a two-rib seal with a single notch easier to open. When you specify the notch, mark its height from the top edge on the dieline, and add length if the notch zone overlaps the headspace.
Step 7: Add a header for hang holes
If the pouch will hang on a peg, add a header above the top seal. Published sizing guidance from converters puts this at 1 to 1.5 inches (about 25–40 mm) for a euro slot or round hole, depending on hole style and how much flat film the retail peg needs. Without it, the punch lands in the seal or the product zone. Euro slots need more header height than small round holes. The header is pure extra length, so leave it off pouches that will ship inside cartons or mailers.
Step 8: Check film area, then run a fill trial
Pouch size also sets barrier performance. Oxygen transmission rate under ASTM D3985[8] is reported per square metre per day, so total oxygen reaching the product scales with film area. An oversized pouch admits more oxygen at the same film specification. The worked example below quantifies this.
Small pouches also raise the ratio of film to product, which matters for food-contact assessment. In the US, the sealant layer that touches food is typically a polyolefin covered by 21 CFR §177.1520[9], used under that section's conditions. In the EU, Regulation (EU) No 10/2011[10] limits overall migration to 10 mg per dm² of food-contact surface. A 30 g sample sachet can carry several times more film area per gram than a family-size pack, so ask your supplier to confirm that migration testing reflects your real pouch size and food type. The product page explains which documents to request; this guide only covers the dimensional side.
Finally, order blank or plain pouches at your calculated size and one size step either side. Fill them on your real line or by your real hand-fill method, close them, and check four things: the product sits below the notch, the seal zone is visibly clean, the filled pouch fits its carton or mailer, and the slack looks acceptable after a shake test that simulates settling.
Worked Example: Flat Pouch Dimensions for Powders (30 g)
This example uses illustrative values to show the arithmetic. Replace each with your own measurements.
Fill volume. 30 g at a loose bulk density of 0.45 g/mL = about 67 mL.
Internal width. The filler's nozzle and mouth opening suggest 80 mm internal width.
Internal length. Try 115 mm between the bottom seal and the inner edge of the top seal (this includes headspace). With l/w = 1.44, V_max ≈ 80³ × [0.458 − 0.137] ≈ 164 mL. The 67 mL fill is about 41% of that ceiling, inside the 40–60% starting band.
Width allowances. Two side seals at an assumed 8 mm each: 80 + 16 = 96 mm outside width.
Length allowances. Bottom seal 8 mm + internal 115 mm + top seal 8 mm = 131 mm outside length. Add a 30 mm header if the pouch will hang: 161 mm.
Area check. At 96 × 131 mm the pouch has about 0.025 m² of film across both faces. Choosing a "close enough" 110 × 150 mm stock size raises that to about 0.033 m², roughly 31% more film area and, at the same film OTR, roughly 31% more oxygen ingress.
The resulting specification reads: 96 mm W × 131 mm L outside, 8 mm seals, tear notch placed in the side seal between the fill line and the top seal, opening at the top. That is the kind of brief a converter can quote without guessing.
Comparing Flat Pouch Sizing Methods
Method
Input it relies on
Where it fails
Best used for
Pick a stock size by eye
Visual guess and a sample on the desk
Ignores density, settling and headspace; often oversized, leaving slack fill and extra film area
Very early mood boards only
Copy a competitor's pouch
A pouch measured with a ruler
Their product density, fill method and seal widths differ from yours
A rough reference point
Calculate from volume (this guide)
Bulk density, nozzle size, seal widths, notch and header needs
The capacity formula is an approximation; real fill behaviour still varies
Writing a quote-ready specification
Calculate, then fill-trial
All of the above plus physical prototypes
Costs a short sampling round
Any product going onto an automated line or into retail
The calculation method gets you to a defensible size; the trial confirms it before printing plates or a large digital run lock it in.
FAQ
FAQ: How much does a flat pouch hold?
It depends on internal dimensions and product density. The paper-bag approximation gives a theoretical ceiling of about 0.19 × w³ for a square pouch with internal width w. An 80 × 115 mm internal pouch tops out near 164 mL. For a flat-lying powder pack, plan to fill roughly 40–60% of that ceiling, then confirm with a fill trial. Convert to grams only after measuring your product's bulk density.
FAQ: Is flat pouch width and length measurement taken inside or outside?
Converters normally quote outside dimensions, edge to edge, written width × length. Your calculation should start with internal dimensions and add seal widths, headspace, notch zone and header. State both in your brief, together with the seal width you assumed, so nobody subtracts seals twice.
FAQ: What seal width allowance should I use in pouch sizing?
Use a nominal width your supplier's sealing jaws actually produce, commonly in the 5–10 mm range, and add it to every sealed edge: both sides, the bottom and the post-fill top seal. Published acceptance floors are much narrower, such as the 1/16-inch minimum effective seal in DLA PCR-G-003B and the 3 mm residual seal threshold in the CFIA retort pouch manual, so design well above them.
FAQ: What flat pouch dimensions work best for powders?
Powders need more headspace than solids because dust in the seal zone weakens seals; one 2019 peel-test study measured strength losses of roughly 16–79%. Size internal width to clear your auger or funnel, keep the fill well below the top seal, and check tapped density so the pouch does not look half-empty after shipping.
FAQ: How much extra length does a hang hole need?
Converter sizing guidance commonly reserves a header of about 25–40 mm (1–1.5 inches) above the top seal for a round hole or euro slot. Skip the header if the pouch ships inside a carton, because it adds film without adding capacity.
FAQ: Can I just use a standard stock size?
You can if your calculated size happens to match one. If the nearest stock size is much larger, you pay for extra film, accept more oxygen ingress through the added area, and risk visible slack fill. Run the calculation first, then compare it with available sizes.
Key Takeaways
Flat pouches dominate pouch volumes, so stock sizes are everywhere, but they are not sized for your product — about three quarters of 620.5 billion pouches in 2024 (Source)
Published seal acceptance floors are narrow, so design seals well above them — 1/16-inch minimum effective seal and 6 lb/in average strength in one US ration spec (Source)
Residual seal width after delamination is a graded defect — under 3 mm counts as serious (Source)
Seal formation, not film pinholes, drives most seal-integrity recalls — 54% of 791 recalled product IDs cited an incomplete or defective seal (Source)
Oversizing adds barrier exposure because OTR is measured per unit area — about 31% more film area in the worked example's oversized option (Source)
Seal zones are a real share of film cost — dropping one seal saved about 10% of material in a 1999 patent design (Source)
Before You Request a Quote
Sizing is the part of the brief only you can supply, because only you know your product's density, fill method and how the pouch will be shipped or displayed. Bring the converter four numbers: fill volume, internal width and length, the seal width you assumed, and any header height, plus the tear-notch position marked from the top edge. With those in hand, material choice, documents and the order process can move quickly; our custom three-side-seal flat pouches page covers those next steps and how to send a quote-ready brief.
Footnotes
Smithers, "Innovation and sustainability drive growth in pouches," June 2024, citing The Future of Pouch Packaging to 2029. smithers.com↩
Canadian Food Inspection Agency, Flexible Retort Pouch Defects Manual, §2.4.1 pre-formed pouches and defect classification. inspection.canada.ca↩
US Patent 6,006,501, granted 28 December 1999, description of three-side-seal pouch material savings. patents.justia.com↩
Defense Logistics Agency, Packaging Requirements PCR-G-003B (Change 02), effective seal definition and ASTM F88 acceptance limits for pre-formed pouches. dla.mil↩
ASTM F88/F88M-23, Standard Test Method for Seal Strength of Flexible Barrier Materials, published 1 May 2023. webstore.ansi.org↩
"Metadata analysis for packaging seal integrity relationships to medicinal product recalls," AAPS Open, 15 December 2025. link.springer.com↩
US FDA MAUDE adverse event report MDR 8565229, pouch opening difficulty linked to tear notch and side-seal design. accessdata.fda.gov↩
ASTM D3985, Standard Test Method for Oxygen Gas Transmission Rate Through Plastic Film and Sheeting Using a Coulometric Sensor (D3985-17, since revised as D3985-24). webstore.ansi.org↩
US Code of Federal Regulations, 21 CFR §177.1520, Olefin polymers. ecfr.gov↩
Commission Regulation (EU) No 10/2011 on plastic materials and articles intended to come into contact with food, consolidated text (Article 12, overall migration limit). eur-lex.europa.eu↩
Hi there! I'm Bruce, proud dad to my amazing son. I'm the founder of Zigpac, a printing and packaging company empowering small and medium-sized businesses with custom solutions. Let's create something great together!



 Blog PDF for offline reading








The information below is required for social login
Sign In
Create New Account